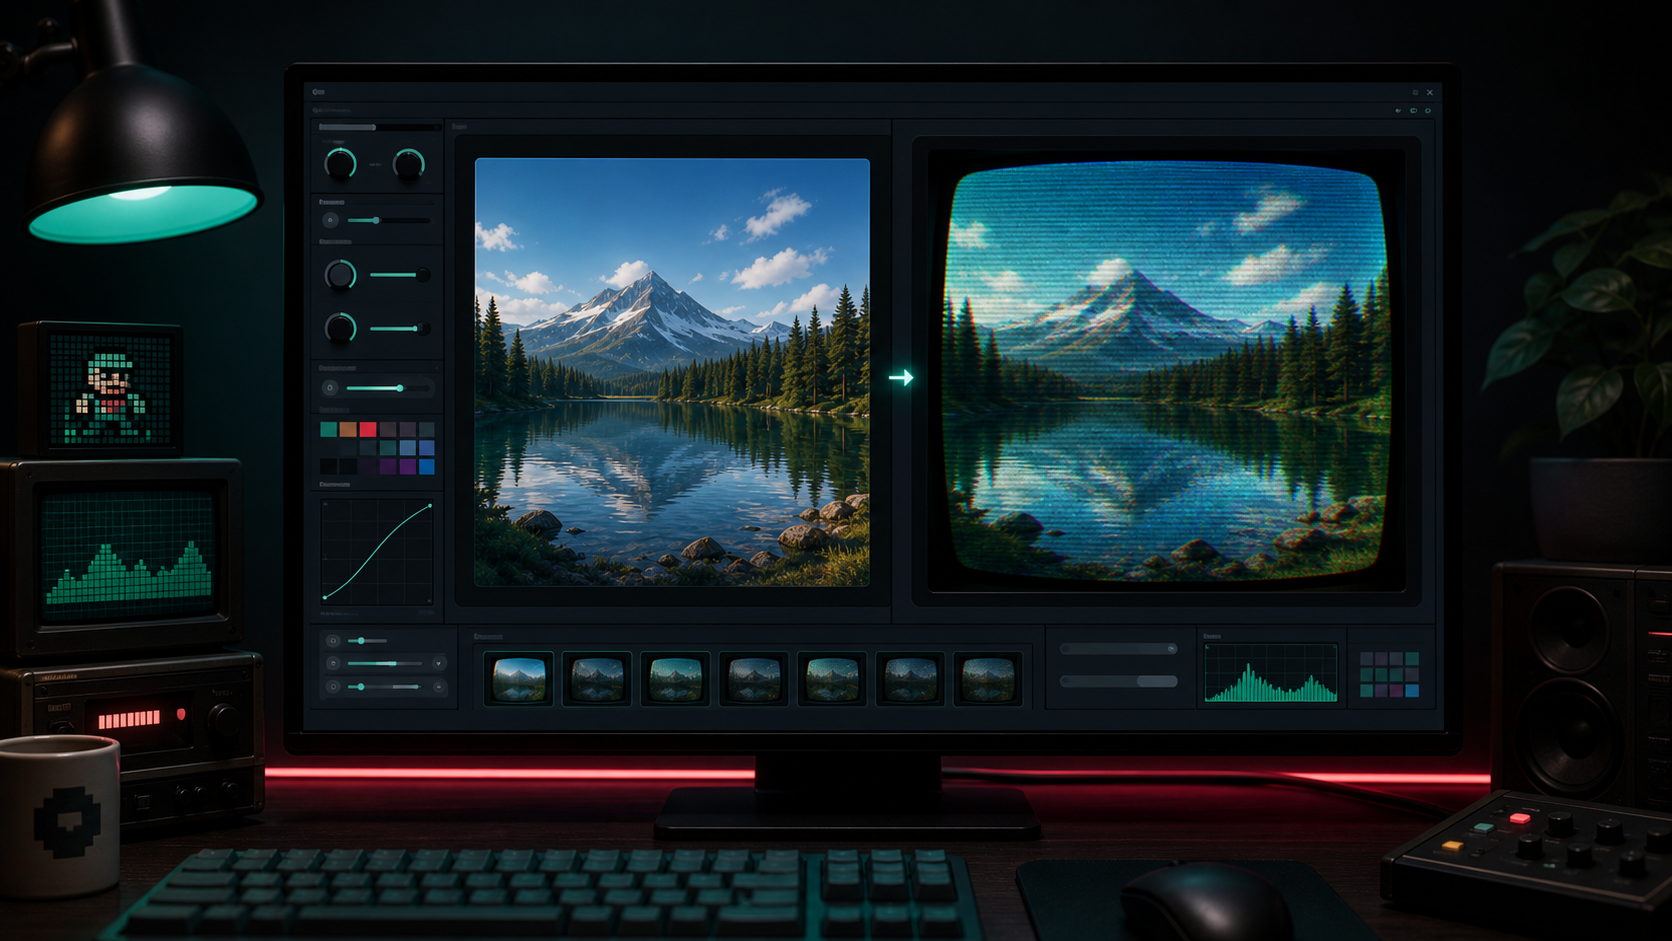
Upload an image and shape it into a retro CRT screen look with live scanlines, glow, curvature, and noise controls.
CRT preview
Image input
Presets
What this tool is for
Use the CRT Effect Generator when the deliverable is a finished image: a game screenshot, social post, cover mockup, poster, album visual, or retro display treatment. The tool is built around upload, preview, adjustment, and PNG export. It is not trying to teach Godot setup or compare pixel art philosophy. The question it answers is simple: can this image be made to feel like it is being shown through a CRT display, and can you download that result cleanly?
Start with the image, then reduce the effect
The fastest workflow is to upload the image, pick the closest preset, and then lower the strongest control until the important subject is still clear. Strong scanlines can break small text. Heavy glow can flatten bright areas. Curvature can make edge content feel cropped even when the file is not literally cropped. Noise is useful for worn screen atmosphere, but it should support the image rather than cover weak composition.
Use presets as starting points
Presets are not meant to be final styles for every image. Arcade Glow suits colorful game screenshots and bright UI. Soft Monitor is better for mockups, portraits, and lighter design material. Worn Signal is more useful when the goal is a degraded screen or horror-adjacent mood. After choosing a preset, treat the sliders as image-specific corrections. A dark screenshot and a bright poster rarely need the same scanline or glow values.
For image export, the useful question is whether the tuned preview still protects the subject after the CRT treatment.
What changes the download
The exported PNG reflects the current controls. Scanlines add horizontal display rhythm. Glow changes the brightness and color bloom feeling. Curvature changes the rounded screen treatment and edge shading. Noise adds a fine surface layer. This matters because the preview is not just decorative. If you lower a slider, the downloaded file should change with it. The page should never make users wonder whether export ignores the values they tuned.
Readable images beat maximum nostalgia
A convincing CRT look does not require every artifact at full strength. For screenshots with UI, start by protecting text and icons. For cover art, protect faces, logos, or central subjects. For atmospheric images, you can push noise and curvature further because exact detail may matter less. A good result looks intentional at the final display size, not only interesting when zoomed into the preview panel.
When to switch tools
If the source is a sprite sheet, a small character, or a tileset, the Pixel Art CRT Filter is a better choice because it shows raw pixels beside the filtered view. If the output needs to run inside a Godot project, use the Godot shader page. If the image becomes too dim once scanlines and masks are applied, move to the brightness-preserving tool and solve luminance before pushing the style further.
Good source images for this tool
This tool works best with images that already have a clear subject. Game screenshots, UI mockups, cover compositions, and monitor-style mockups respond well because the CRT treatment has something to frame. Very small images can look noisy if enlarged too far, while extremely busy images can make scanlines compete with existing texture. If the result feels messy, simplify the source or lower the effect instead of stacking stronger artifacts.
Export checks before downloading
Before downloading, check three things at the preview size you expect to share. First, make sure the main subject is still readable. Second, look at the edges, because curvature and vignette are most visible there. Third, check bright areas, because glow can remove contrast. These checks take a few seconds and prevent the common mistake of exporting a dramatic image that works only inside the editor.
Common mistakes
The most common mistake is pushing every slider up because the effect feels more obvious. Obvious is not always better. Another mistake is using noise to make a weak image feel interesting; noise should add screen texture, not hide the subject. A third mistake is judging the effect on a large desktop preview when the final image will be seen as a small thumbnail. Always judge at the final use size.
What a finished export should achieve
A finished export should still look like the original image's idea, only presented through a CRT screen. The subject should remain recognizable, the frame should feel intentional, and the artifacts should add display character without becoming the main subject. If the effect is the only thing a viewer notices, reduce it. The best exports usually feel designed rather than filtered.
FAQ
Will changing parameters affect the downloaded PNG?
Yes. The export uses the current scanlines, glow, curvature, and noise values.
Why does text get harder to read?
Small text is sensitive to scanlines, noise, and curvature. Lower scanlines first, then reduce noise and curvature if edge content still feels damaged.
Should I use this for small pixel art?
Use it for general image exports. For sprites and pixel-art screenshots, the pixel art comparison tool gives better judgment because it shows raw and CRT output together.