CPCRT Pixel

Godot CRT shader tool

Godot CRT Shader

Tune a Godot CRT shader preset, preview the display style, and copy starter settings for a pixel art game.

Godot CRT preview

Preset

shader_type canvas_item;
render_mode unshaded;

uniform sampler2D screen_texture : hint_screen_texture, repeat_disable, filter_nearest;

uniform float scanline_strength = 0.38;
uniform float mask_strength = 0.18;
uniform float curvature = 0.08;
uniform float glow = 0.22;
uniform bool preserve_luminance = true;

float luma(vec3 color) {
  return dot(color, vec3(0.2126, 0.7152, 0.0722));
}

vec2 curve_uv(vec2 uv) {
  vec2 centered = uv * 2.0 - 1.0;
  centered += centered * abs(centered.yx) * abs(centered.yx) * curvature;
  return centered * 0.5 + 0.5;
}

void fragment() {
  vec2 uv = curve_uv(SCREEN_UV);
  if (uv.x < 0.0 || uv.x > 1.0 || uv.y < 0.0 || uv.y > 1.0) {
    COLOR = vec4(0.0, 0.0, 0.0, 1.0);
    return;
  }

  vec3 original = texture(screen_texture, uv).rgb;
  float line = sin(uv.y / SCREEN_PIXEL_SIZE.y * 3.14159265);
  float scanline = mix(1.0, 0.62 + line * 0.18, scanline_strength);
  vec3 mask = vec3(
    0.72 + 0.28 * step(0.66, fract(uv.x / SCREEN_PIXEL_SIZE.x / 3.0)),
    0.72 + 0.28 * step(0.33, fract(uv.x / SCREEN_PIXEL_SIZE.x / 3.0)),
    0.72 + 0.28 * step(0.00, fract(uv.x / SCREEN_PIXEL_SIZE.x / 3.0))
  );

  vec3 crt = original * scanline * mix(vec3(1.0), mask, mask_strength);
  crt += original * glow * 0.18;

  if (preserve_luminance) {
    float before = max(luma(original), 0.0001);
    float after = max(luma(crt), 0.0001);
    crt = mix(crt, crt * (before / after), 0.75);
  }

  COLOR = vec4(clamp(crt, 0.0, 1.0), 1.0);
}
A shader tool for a real Godot workflow

This page is for developers who need more than a decorative preview. The goal is to tune a CRT look and copy a practical starting point into a Godot project. The preview helps you reason about scanlines, mask strength, curvature, glow, and brightness preservation before opening the engine. The copied shader is intentionally a starting point, not a complete art direction. Your project resolution, UI style, renderer, and performance target still matter.

Choose the preset by constraint

Compatibility Safe is the conservative preset for projects that need fewer surprises. Pixel Art Clean keeps the look lighter so small sprites and UI survive. VHS Horror pushes stronger distortion and mood for games where atmosphere matters more than crisp readability. These presets are named by practical constraint rather than nostalgia category because developers usually arrive with a problem: readable pixels, safe performance, or a stronger analog mood.

Tune gameplay before screenshots

A shader can look excellent in a still screenshot and still fail during play. Moving sprites, scrolling backgrounds, camera shake, and UI overlays expose problems quickly. Start with a subtle effect, test it while playing, then increase scanlines or glow only if the scene remains readable. If the shader makes health, subtitles, inventory icons, or interaction prompts harder to use, the effect is fighting the game instead of supporting it.

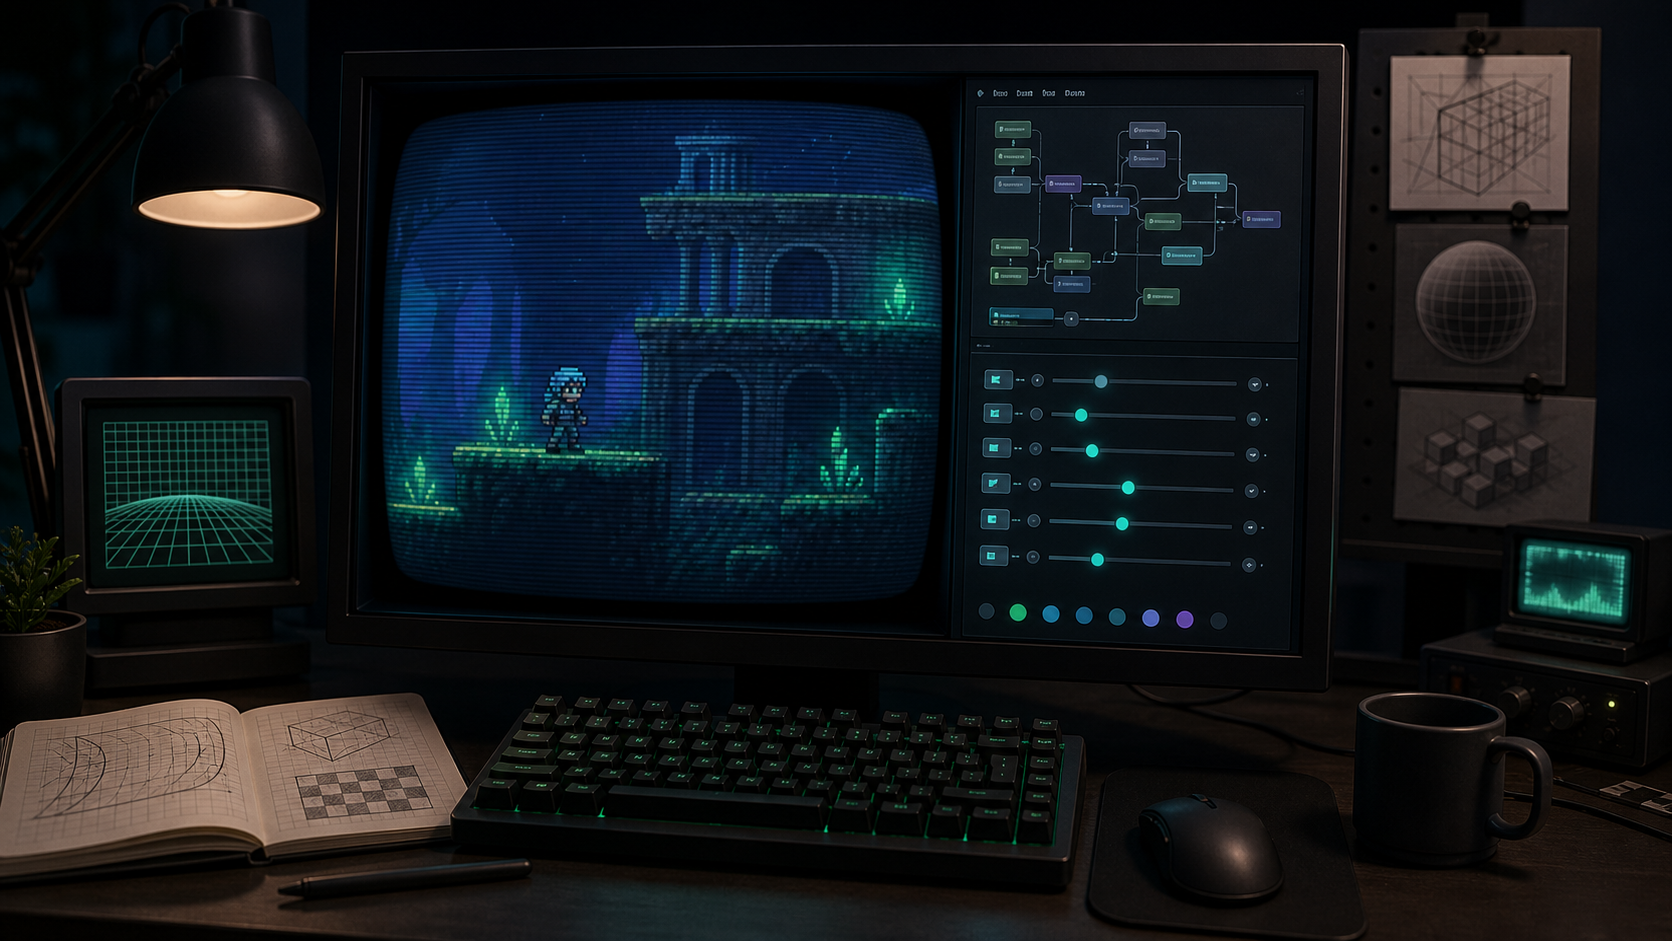
A Godot-style shader tuning workstation with a CRT preview and abstract parameter controls.
The shader page focuses on tuning and copying a practical starting point, not replacing project testing.

Keep setup questions separate

This page gives code and values. It should not become a full Godot setup manual. The setup article covers ColorRect, CanvasLayer, SubViewport, mouse filtering, and HUD ordering. Keeping those topics separate helps this tool stay fast: tune, preview, copy, paste, then test. When a copied shader appears wrong inside Godot, the cause is often scene structure rather than the slider values themselves.

Short technical note

The copied shader is a CanvasItem-style starting point that samples the screen texture and applies curvature, scanlines, mask texture, glow, and luminance preservation. Use it as a fullscreen post-process layer, then test it against your real scene scale. Keep UI outside the filtered layer if small text needs to remain sharp. Do not treat this snippet as a full renderer replacement.

How to judge a usable shader

A usable Godot CRT shader should survive the boring parts of a game, not only the moody parts. Check menus, pause screens, dialogue boxes, input prompts, low-health states, bright effects, and dark rooms. If a player would disable the filter to understand the game, reduce the effect. A good CRT shader creates display character while leaving interaction clear.

Copy settings with a testing plan

After copying the shader, test it in a controlled scene before applying it everywhere. Use one bright area, one dark area, one moving sprite, one UI element, and one text sample. This small test scene reveals most problems quickly. If the shader passes there, move it into a real level and test again while playing. A copied preset is only useful after it survives the project's actual scale.

Avoid shader drift

Shader drift happens when small changes accumulate until nobody remembers why the values exist. Keep a note of the preset you started from and the reason for each major adjustment. For example, reduce curvature because edge UI was bending, or lower mask strength because dark rooms lost detail. This makes later tuning easier and prevents the CRT effect from becoming a mystery box.

When not to use a full-screen shader

A full-screen CRT shader is not always the best answer. If only a monitor prop, menu screen, or in-game terminal needs the look, apply the effect locally. If the game depends on precise input timing or tiny readable UI, keep the global effect subtle or optional. The strongest CRT treatment belongs where it supports the fiction or mood, not necessarily over every rendered pixel.

What to copy into production

Copy the shader only after choosing values that match a project goal. If the goal is a clean retro display, copy a lighter preset and protect readability. If the goal is a damaged analog signal, copy stronger values but test scenes with text and fast movement. Production settings should be chosen because they support the game, not because they looked impressive in a blank preview.

FAQ

Is the copied shader complete?

It is complete enough as a starting CanvasItem shader, but it still needs project testing for scale, UI, renderer, and performance.

Does this replace the setup guide?

No. This page is for tuning and copying values. The setup guide handles scene structure and layering.

Why keep luminance preservation on?

Scanlines and masks reduce perceived brightness. Luminance preservation helps sprites, UI, and bright gameplay elements stay readable.